RV MAINTENANCE doesn’t have to be intimidating. Following a few simple RV maintenance tips will keep your camper in great shape and minimize the chances of larger repairs down the road. This guide provides DIY camper maintenance tips that most beginners can comfortably tackle at home. However, you can quickly find professional RV techs to help using the link at the bottom of this RV maintenance guide.
Key Takeaways
- Safety Inspections: Regularly monitor tire pressure (cold) and lug-nut torque before every trip, and perform a comprehensive roof-seal audit every six months to prevent costly water damage.
- System Upkeep: Maintain longevity by sanitizing the fresh water tank twice a year, using RV-specific waste tank treatments, and running your generator monthly to prevent fuel from gumming up.
- Protective Care: Extend the life of your RV by maintaining battery charge during storage, lubricating slide seals to keep them pliable, and ensuring awnings are dry and retracted during high winds or overnight.
Tip #1: Get Familiar with Your Documentation
Before you even pull out of the driveway, locate and actually review your owner’s manuals. Many new RV owners skip this critical step, but these manuals offer the most helpful information about your RV. Most campers have a manual from the RV manufacturer, as well as specific manuals for the refrigerator, microwave, air conditioner(s), and other appliances.
These manuals are where you’ll find critical information such as model codes, torque specs, fluid capacities, and more. Knowing where to find this information when an issue arises will save you time and headaches.
- Immediate Action: Create a digital folder with PDFs of your manuals for easy access from a computer or smartphone. This may require scanning the physical manuals, but many manufacturers are now offering QR codes to download digital versions.
Technician Tip: Write down your local Camping World Service Center’s info on the inside cover of the manual for quick reference.
Tip #2: Know Critical Tire Maintenance Info
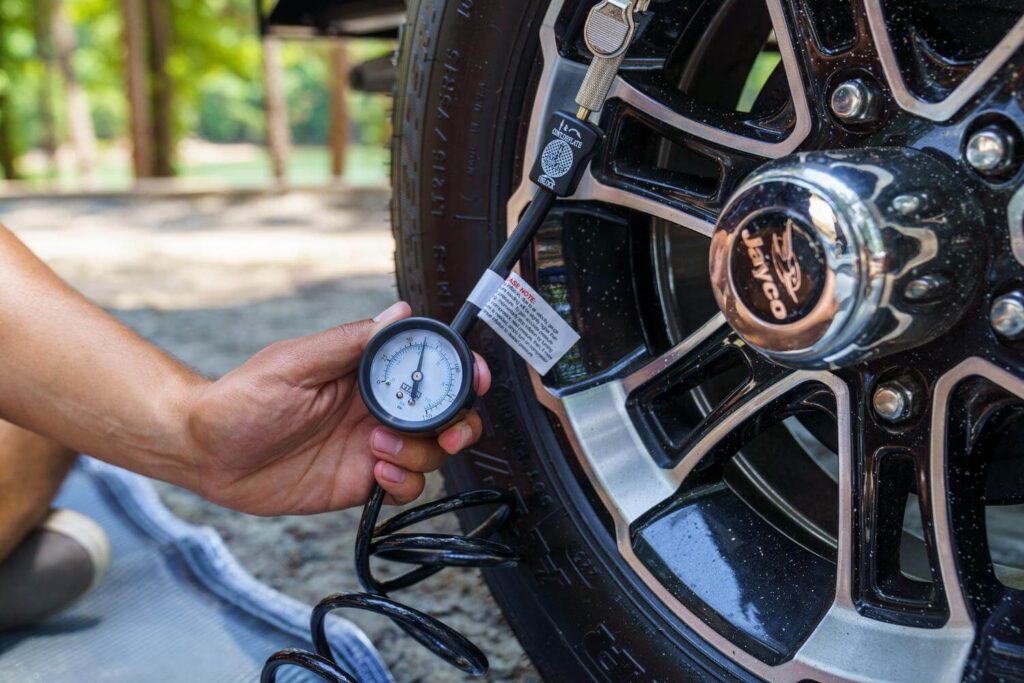
RV trailer maintenance starts where the rubber meets the road. Unlike cars, RV tires often age out before they wear out, since the average RV owner travels only 4,500 to 5,000 miles per year.
This means you’ll need to know where to find three critical pieces of tire maintenance information:
- DOT Code (shows tire’s date of manufacture) – found on the sidewall of the tire
- Recommended Tire Pressure – found on the vehicle certification label, and/or in your owner’s manual
- Lug Nut Torque Specs – found in your owner’s manual
For tire pressure specifically, follow the manufacturer’s printed recommendation rather than the maximum rating on the tire’s sidewall. That vehicle certification label is typically found on the driver’s side exterior wall of towable RVs and on an interior wall in motorhomes.
- Immediate Action: Check tire pressure when cold before every single trip. Changes in temperature and altitude will cause fluctuations.
Technician Tip: Don’t forget your lug nuts! New campers often have “settling” wheels; use a torque wrench to ensure they are tightened to the manufacturer’s foot/pound specifications before your first 50 miles.
Tip #3: Perform a Roof Seal Check
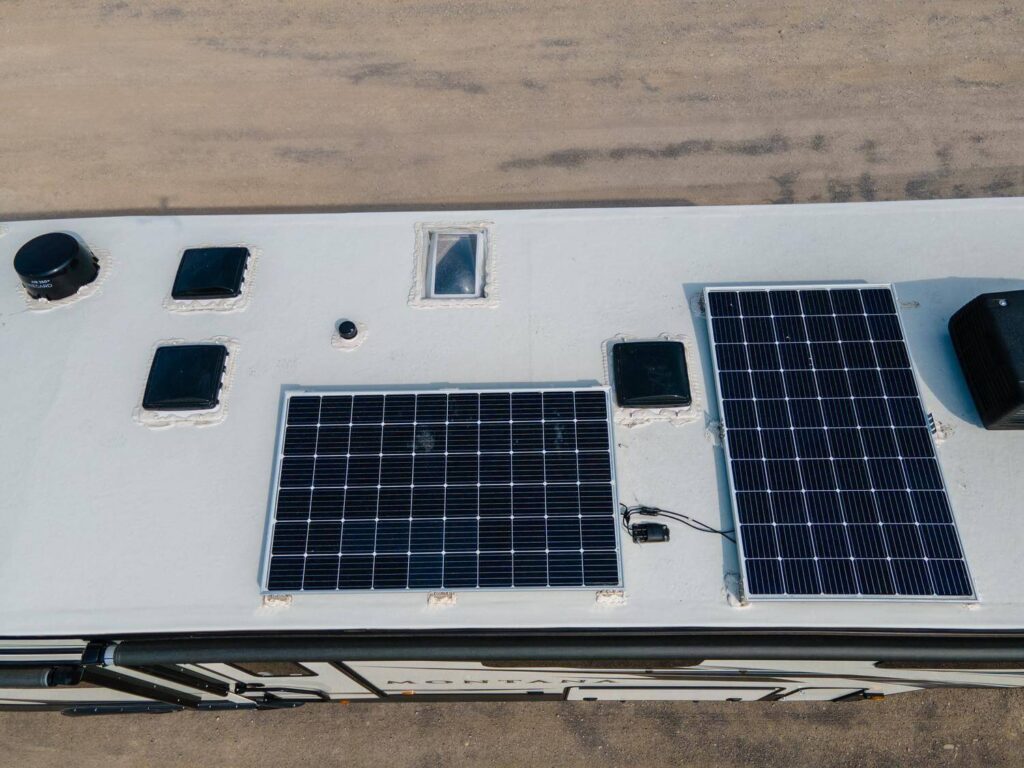
RV roofs take a lot of abuse from harsh weather like hail, sun, wind, and rain. These are all natural enemies, but don’t let neglect be the unnatural catalyst that lands expensive camper roof repairs in your lap. Whether you have a motorhome or a travel trailer, your roof requires an “eyes-on” inspection every six months.
- Immediate Action: Check if your roof is “walkable” (factory ladder = yes). If not, use a stable extension ladder to inspect from the side.
If your RV comes equipped with a factory-installed ladder or ladder prep, your roof is most likely walkable. If not, use a stable ladder to check your roof from the side. Keep your roof clean by washing it with a light solvent and water. Parking under sappy trees warrants a wash as soon as possible.
Technician Tip: Look for cracks or peeling in the lap sealant around vents, skylights, and edges. A small tube of Dicor (or the manufacturer-recommended sealant) can save you thousands in water damage repairs later.
Thoroughly washing and rinsing your roof seasonally will also help to slow deterioration and prevent black streaks from forming on your RV’s exterior walls. After cleaning, it’s the perfect time to touch up the sealant around roof-mounted appliances and along seams.
Here are a few more resources to help you care for your camper’s roof:
If you don’t feel safe getting on your roof to inspect or apply sealant, schedule a roof inspection service with your local Camping World.
Tip #4: Manage Your Waste Management System
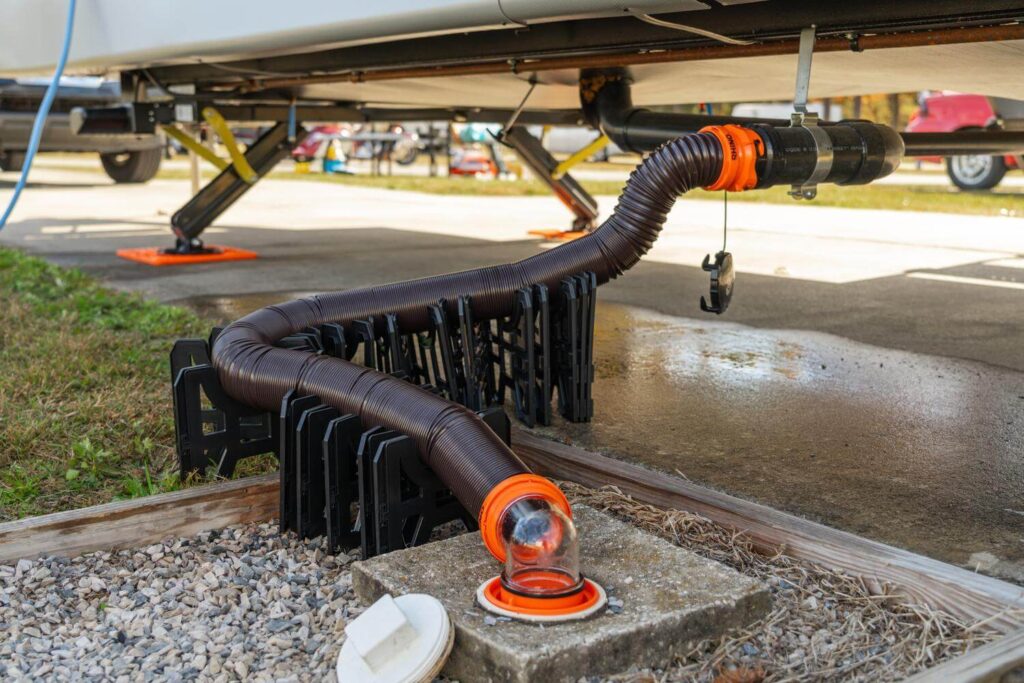
Camper maintenance includes the “stinky” parts, too. Most RVs have three main holding tanks: fresh (potable), gray (sinks & shower), and black (toilets).
Fresh water tanks simply require a bi-annual flush, typically when bringing your RV out of seasonal storage. Bacteria can build up in a moist environment, so a gentle bleach-and-water solution can sanitize the tank, and a few system fills and flushes will clear out the bleach.
Gray water tanks require less maintenance. However, it’s still common for gray tanks to develop a smell with normal use. If your tank starts to smell, consider an odor blocker to keep foul odors at bay.
For your black tank, use only approved RV-friendly toilet paper and holding tank treatments to break down solids. Using your black tank flush (if equipped) or a tank cleaning wand will help keep sensors clean and reading accurately.
- Immediate Action: Learn how to properly empty RV holding tanks (first black, then gray) and use holding tank treatments during each trip, along with your black tank flush (if so equipped), to avoid tank issues.
- End of Season Task: Sanitize your fresh water tank with a mild bleach-to-water solution before your first trip to kill any lingering bacteria from the factory or storage.
Technician Tip: Never leave your black tank valve open while at a campsite. This leads to the “poop pyramid” (solids drying out). Keep the valve closed until the tank is at least two-thirds full, then flush.
Tip #5: Make Seasonal Fluid and Filter Swaps
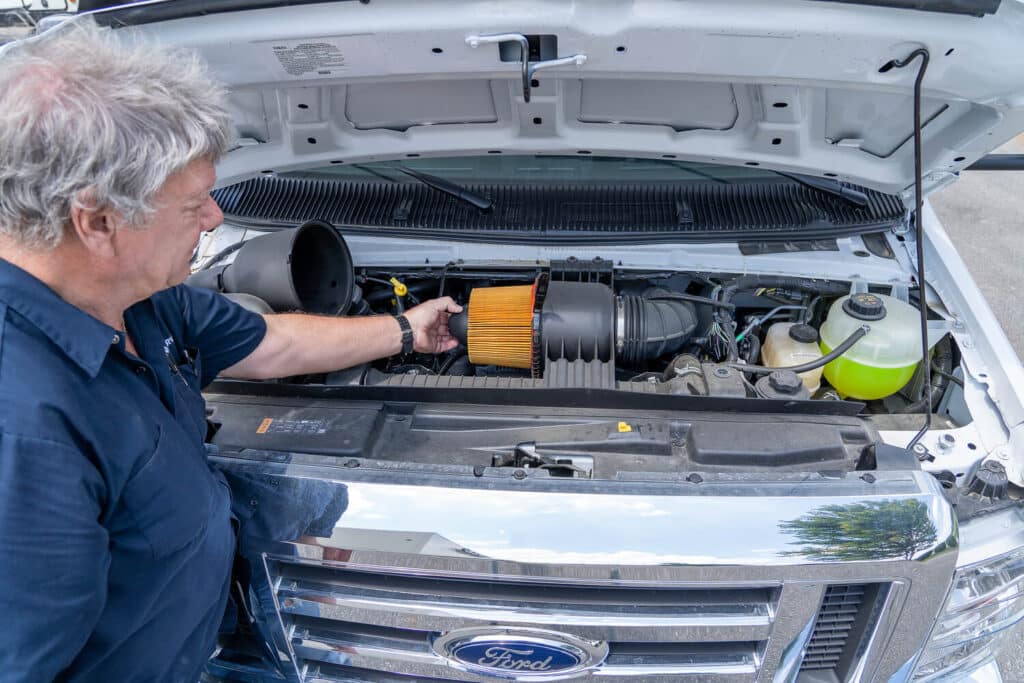
For motorhome maintenance, your engine and chassis need the same love as your daily driver—just on a stricter schedule, because they sit for longer periods. Refer to your motorhome’s manual to learn how frequently you should change fluids and replace filters.
- Immediate Action: Check oil, coolant, and transmission fluid levels before your inaugural trip.
Technician Tip: Plan for an oil and filter change every 3,000 to 4,500 miles. If you’ve reached the end of the season and haven’t hit the mileage, change the oil anyway to prevent acidic buildup from sitting over the winter.
Additionally, your motorhome’s air, fuel, coolant, and hydraulic filters should also be replaced according to the manufacturer’s recommendations. Failure to service these regularly can lead to increased fuel consumption, overheating, and oxidation of the hydraulic system.
Furthermore, regular brake inspections are critical to your safety—and the safety of others on the road. Just like your daily driver, ensure your brake pads and rotors are professionally inspected regularly and replaced or serviced as recommended.
Enjoy these additional RV care resources:
Tip #6: Practice Preventive Battery Care
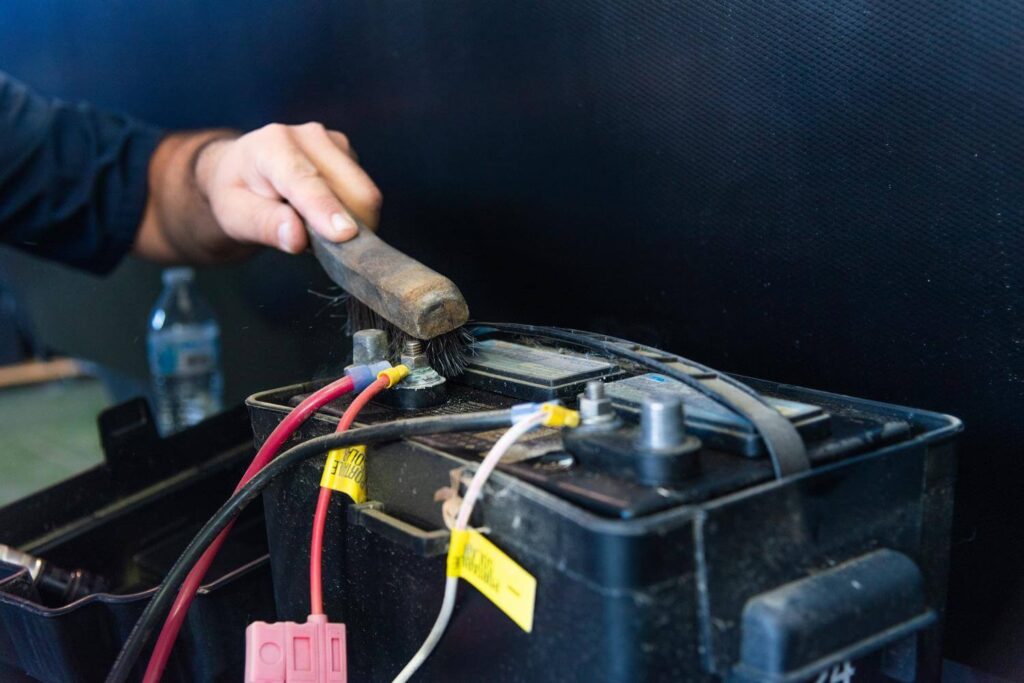
Nothing kills a camping vibe faster than a dead battery. RV preventive maintenance for batteries is all about keeping them charged. That requires checking their charge before each trip and monthly while your RV is in storage.
Generally, flooded lead-acid batteries last 2-7 years, and should be replaced when their life cycle is complete, or they no longer hold a sufficient charge. Other battery types, such as AGM and lithium, can last longer.
However, your battery must be stored properly to prevent parasitic drains. In the warmer months, that may be as simple as using your RV’s battery disconnect switch, if so equipped. In winter, it’s recommended to remove your battery and store it in a warmer place, such as your garage. In either case, it must be recharged regularly to avoid a deep discharge.
- Immediate Action: Know where your “Battery Disconnect” switch is. Turn it off when the RV is in storage to prevent parasitic draws (like CO2 detectors) from draining the battery.
Technician Tip: If you live in a freezing climate, remove your deep-cycle batteries and store them in a garage on a trickle charger during the offseason to prevent the cases from cracking.
Use these guides to learn more about maintaining RV batteries:
Tip #7: Exercise Your Generator
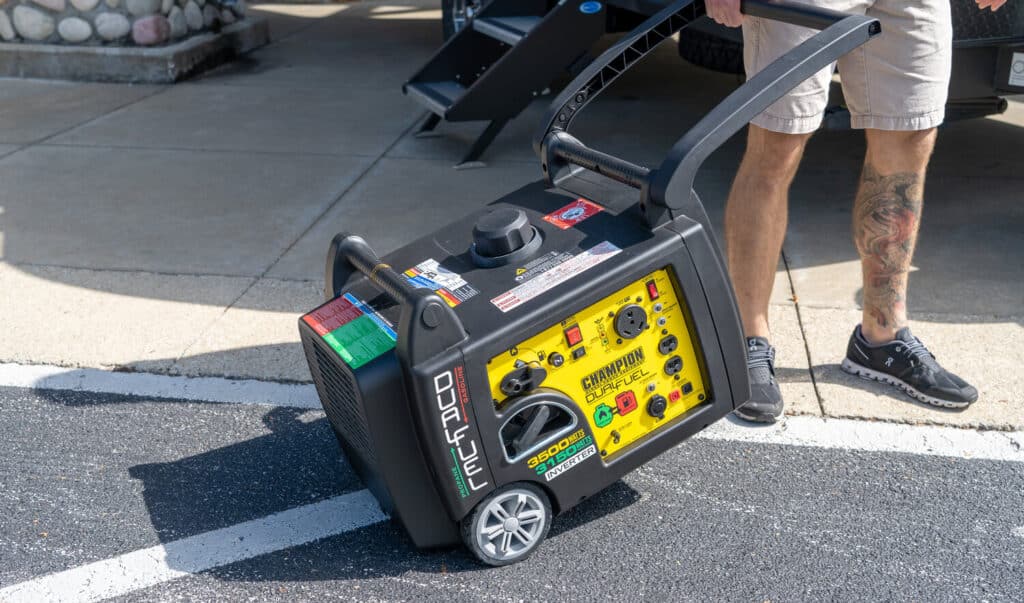
A generator that sits is a generator that quits. If you don’t run it, the fuel in the carburetor can gum up, leading to an expensive repair bill. This is true during the camping season and when your RV is stored during the offseason. It also applies to portable and onboard RV generators.
- Immediate Action: Run your generator for 30 to 60 minutes once a month at half-load (e.g., running an air conditioner or space heater). This keeps the internal components lubricated and ensures the fuel stays fresh.
Technician Tip: Service your RV generator according to the manufacturer’s recommended maintenance schedule for oil changes, filter replacements, and other maintenance.
Learn more about using and caring for camping generators:
Tip #8: Drain & Flush Your Water Heater
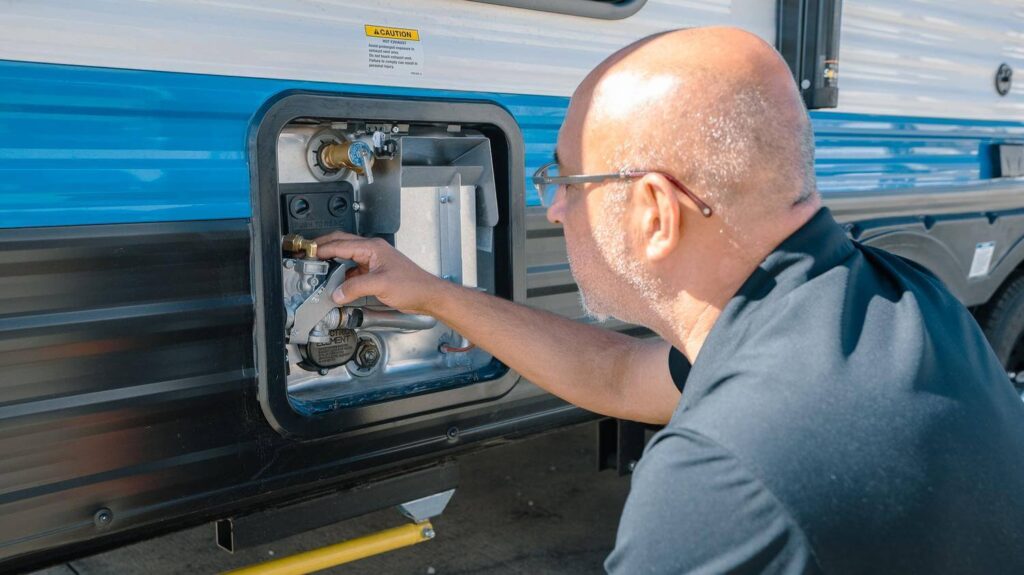
RV water heaters often get ignored until hot water runs out. To prevent this, it should be drained and flushed at the end of every camping season. This helps to remove sediments and other debris before winterization.
Depending on whether you have a tankless or traditional water heater, your checks will differ slightly. For traditional models with an anode rod, this rod must be inspected seasonally and replaced as needed. For tankless models, you’ll need to descale the unit seasonally to prevent mineral buildup.
- First Offseason Task For Water Heaters with Anode Rods: Check your anode rod (in Suburban® heaters). This sacrificial rod corrodes, so that your tank doesn’t. If it’s down to the wire, replace it.
- First Offseason Task for Tankless Water Heaters: Check with your water heater’s manufacturer for their specific descaling recommendations.
Technician Tip: Use a tank rinsing wand to wash out sediment and calcium buildup from the bottom of the tank annually to keep the heating element efficient.
Use these additional resources to learn more about water heater maintenance tips:
Tip #9: Lubricate Slide Seals
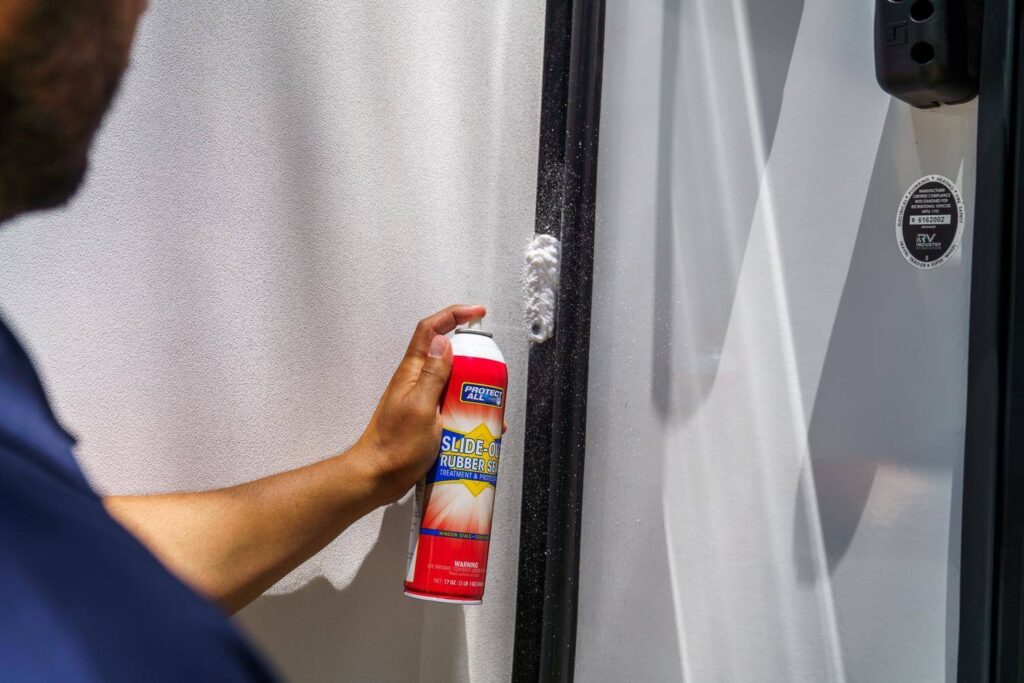
If your RV has slide-outs, the rubber seals (bulb seals and wipers) keep the rain out of your living room. Slide rooms are often neglected, but they can lead to costly repairs if not properly maintained. Before retracting your slide, visually inspect the seals to ensure they are free of debris. In addition, apply RV-rated slide-out lubricant at least twice a year (or every 3-6 months with more regular use).
- Immediate Action: Before retracting your slides, ensure the slide roof is clear of sticks, pinecones, or other debris that could tear the seals.
Technician Tip: Apply a specialized slide-out lubricant to the seals to keep them pliable. This prevents them from “sticking” to the coach walls and tearing during operation.
These resources will help you learn more about slide operation and maintenance:
Tip #10: Protect Awnings and Slide Toppers
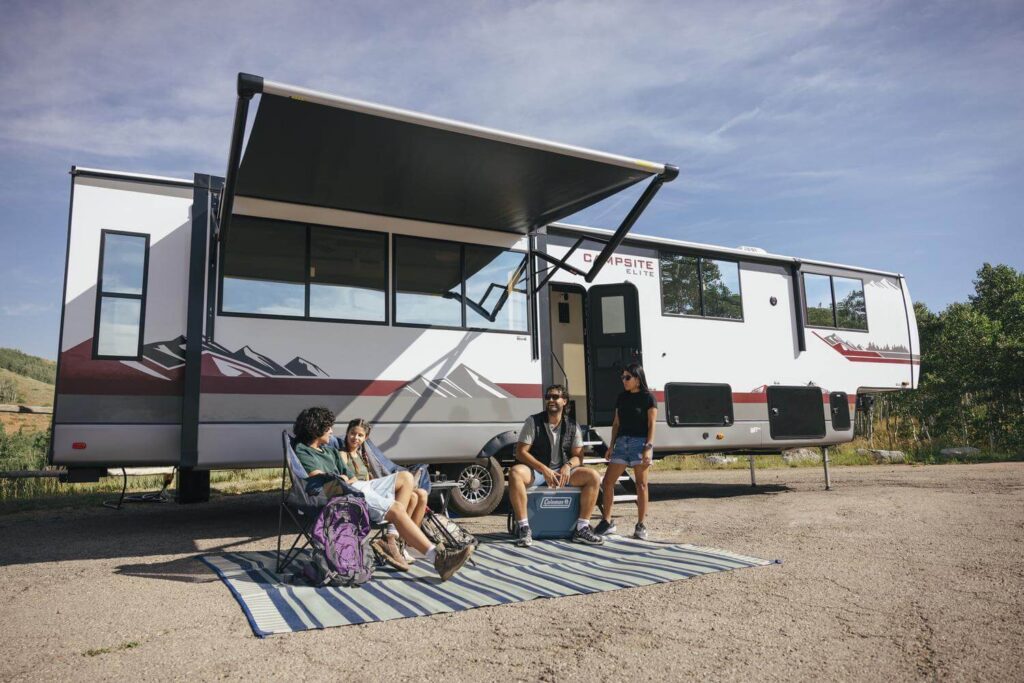
Your awning is a giant sail. If the wind picks up, it can easily bend the arms or rip the fabric. Never extend an RV awning in high winds, as this can damage its alignment and prevent it from storing effectively.
Additionally, awnings can develop damage, mold, and mildew over time if not properly cared for. Before putting your RV into storage, give your awning a wash and let it dry before retracting it.
- Immediate Action: Never leave your awning out overnight or when you leave the campsite. A sudden gust can cause thousands of dollars in damage in seconds.
Technician Tip: Always wash your awning and let it dry completely before rolling it up for storage to prevent mold and mildew growth.
Use these guides to learn more about caring for RV awnings and slide toppers:
When Professional Assistance is Needed
RV maintenance isn’t rocket science. In fact, it’s quite simple and usually requires focused attention a few times a year to maintain your resale value and avoid costly repairs. However, certain RV systems (e.g., propane, electrical, and plumbing) should be regularly inspected by a certified RV technician.
If your RV maintenance schedule says it’s time for professional service, use the link below to find a service center near you:
Looking for more help? Explore these other helpful RV maintenance guides:
If you have questions or concerns, leave a comment below!