Basic RV winterization drains all water from your plumbing lines, fixtures, water pump, and filtration systems. For added protection, many RVers go a step further by adding RV antifreeze after draining. But no matter which method you choose, knowing how to blow out RV water lines with safe air pressure is the smartest place to start. It removes more water than draining alone and provides stronger protection — especially if you’re winterizing a camper for the first time.
Key Takeaways
- More Than Gravity: Blowing out water lines with air pressure is significantly more effective, as it removes water that gravity misses.
- The 30–40 PSI Rule: To prevent damaging your PEX lines or fittings, keep your compressor set between 30 and 40 PSI.
- Methodical Purging: For total protection, you must open every interior and exterior fixture—hot and cold sides—individually until only air remains in the system.

Images by Camping World
Before you begin, here are the tools you’ll need:
While the tool list is short, there are some safety considerations to keep in mind, starting with understanding a safe PSI for blowing out water lines in a camper.
How Much Air Pressure Should Be Used to Blow Out RV Water Lines?
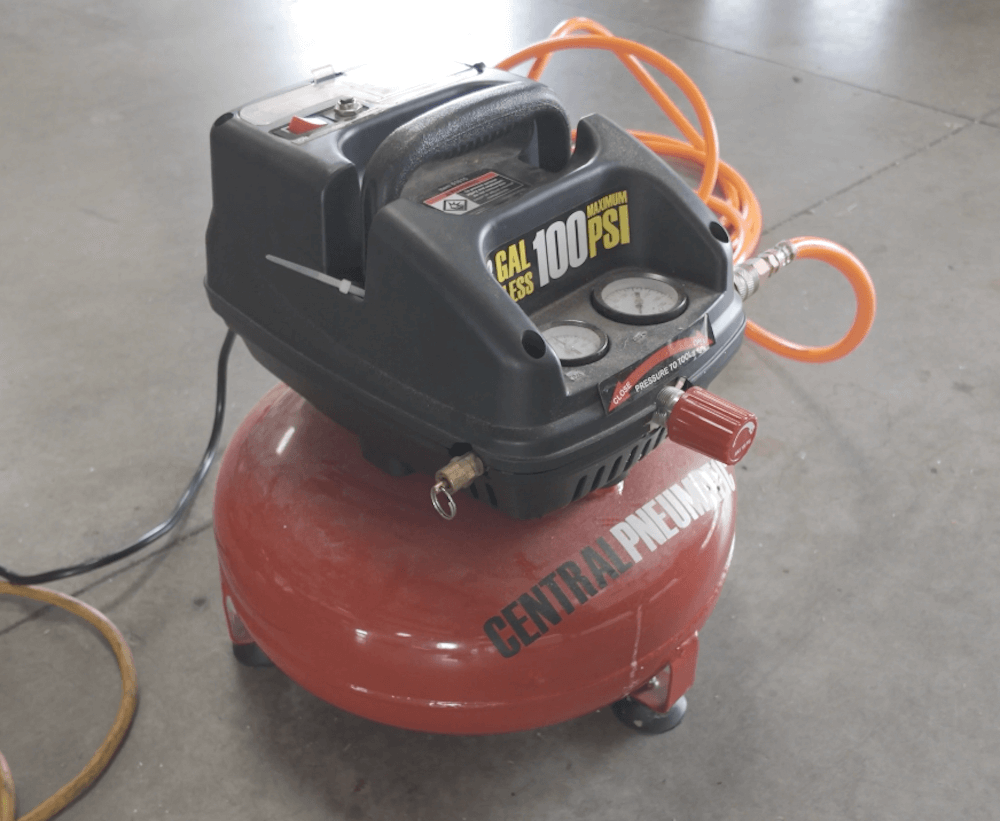
The safe recommended pressure for blowing out RV water lines is between 30 and 40 PSI, depending on your water heater’s make and model. The maximum recommended pressure for RV water lines is roughly 60 PSI. To avoid damage to the plumbing lines, your compressor must not exceed that pressure.
Technician Tip: Some manufacturers recommend using compressed air to drain the water heater, while others require gravity draining. It’s best to consult your owner’s manual to understand the safest method recommended by your water heater’s manufacturer.
But before you hook up an air compressor, you’ll need a suitable location to drain the water system. This is especially important if any water remains in your fresh water tank.
Because we aren’t dealing with any hazardous chemicals, draining water onto the ground beneath it is perfectly acceptable, if your RV is on your property. Just consider where it will run and whether it could damage anything near your camper.
For RVs in storage lots or when starting the winterization process at a campground, you may need 5-gallon buckets or a portable RV waste tank to minimize the mess. Wherever you’re completing this RV maintenance task, take the time to consider where the water will go when you start draining.
Technician Tip: Most of us consider the potable water in our water lines and fresh tank to be clean and safe. But legally, once it leaves a spigot and enters your city water hose and RV, it is considered contaminated. As such, many campgrounds, neighborhoods, and municipalities require you to capture and dispose of freshwater the same way as your grey and black water. Be fully aware of the rules where you are servicing your RV.
How To Blow Out RV Water Lines
Keeping those points in mind, follow these steps to learn how to blow water out of RV lines:
1. Connect your sewer hose to a dump station location and empty holding tanks.
2. Turn off your water heater, remove the plug to drain it, and set any water heater bypass valves to the bypass position (if your RV is equipped). As referenced above, this step varies depending on the make and model of your water heater.
3. Remove any built-in RV water filtration systems and empty the canisters. Use a bypass valve here too, if so equipped. If not, reinstall the empty filter canister and dispose of the old filter. You will install a new one when you winterize next season.
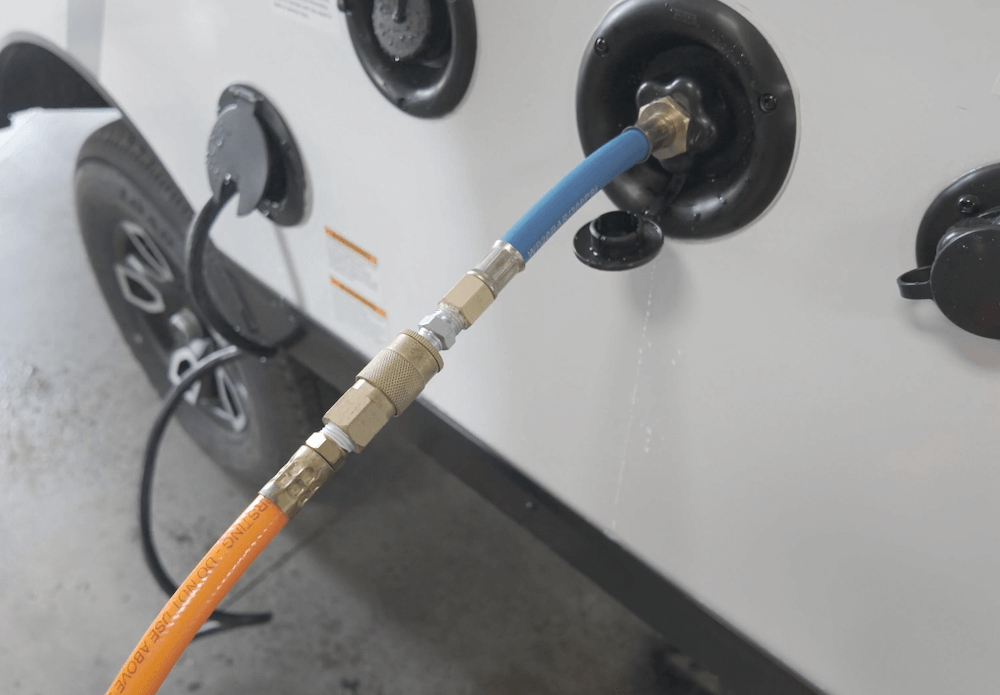
4. Connect the compressor to your RV’s city water inlet using the blow-out hose or plug. If using a blow-out hose with a valve, ensure it’s in the open position to allow air into the lines.
5. Set the compressor to a low-pressure setting (between 30 and 40 PSI) and turn it on.
6. One by one, open all interior and exterior fixtures (including all sinks, indoor and outdoor showers, and toilets). Open one side at a time (hot, then cold, or vice versa) and let the air pressure purge water from each line/fixture until none remains. You may need to repeat this step two or more times.
7. Open low point drains to purge any remaining water.
8. Turn off the compressor and close the low point drains.
9. Replace the water heater drain plug and ensure the water heater remains empty for the winter, left in bypass mode so no antifreeze gets in.
10. Close holding tank valves and secure your sewer hose.
Using an air compressor to blow out RV water lines is a relatively simple process, but excessive air pressure can damage PEX lines, fittings, and other water system components.
As we mentioned, it’s also the first step in thoroughly winterizing a camper—the next is adding RV-safe antifreeze. To learn more about that next step (or to have a Certified RV Technician winterize your RV for you), use the links below:
New to RV maintenance? Here are a few more helpful resources:
What questions do you have about how to blow out RV water lines? Let us know in the comments below.
