REGULAR CLEANING extends your RV’s life, helps retain its resale value, and keeps your camper in the best possible shape for continued adventures. Plus, post-trip RV cleaning lets you spot damage more easily and catch potential maintenance issues before they become costly problems. Here’s how to clean your RV after every trip — inside and out!
Expert Tip: If you RV as a family, post-trip RV cleaning offers an excellent opportunity to teach responsible ownership. Include everyone in your post-trip cleaning up by dividing and conquering. You can even amp up the fun with a friendly competition—just make sure you award points for cleaning quality, not speed!
Key Takeaways
- Consistent Cleaning is Preventive Maintenance: Washing after every trip protects your resale value and helps you catch minor damage before it becomes an expensive repair.
- Use Specialized, Non-Abrasive Products: Avoid bleach and harsh chemicals in favor of RV-safe, pH-neutral soaps and enzyme-based treatments to protect roofs, seals, and finishes.
- Adopt a Top-Down Cleaning Strategy: Work from the roof to the wheels to prevent re-soiling lower areas and ensure all surfaces are bone-dry before storage.
What Cleaning Products Are Safe For Your RV?
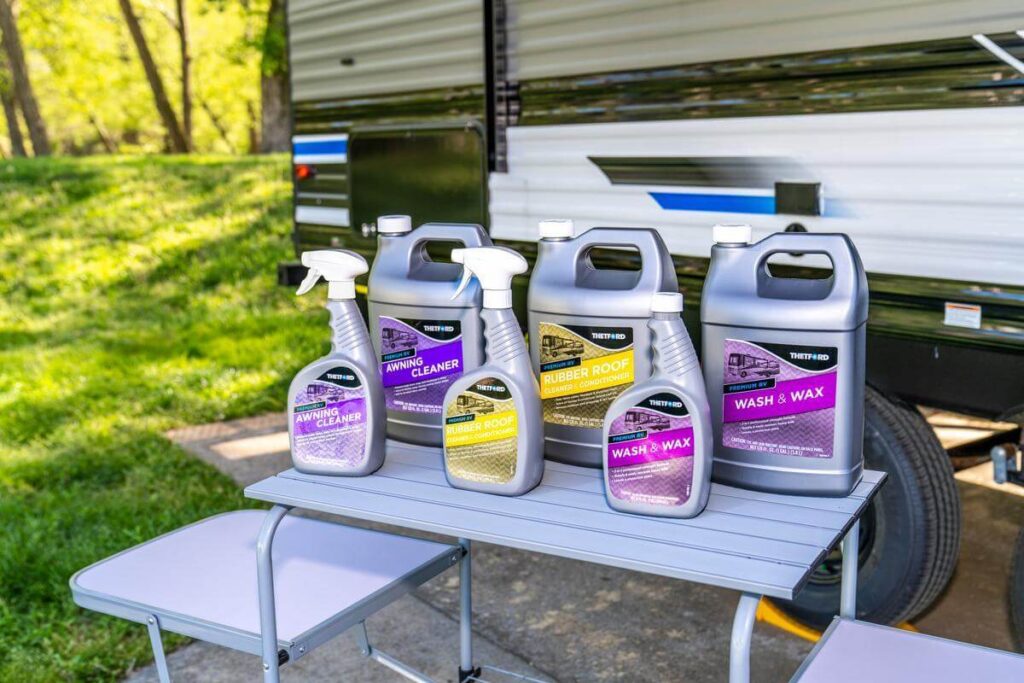
The safest answer is always to follow your RV manufacturer’s recommended cleaning products and guidelines, as different RV exterior materials (fiberglass vs aluminum vs rubber roofing, etc.) require different care. That said, here are general rules that apply to most RVs:
- Use pH-neutral, non-abrasive soaps for exterior washing to protect your RV’s finish and decals.
- Avoid bleach on rubber roofs — it accelerates degradation. Use a dedicated rubber roof cleaner instead.
- For black and gray water tanks, enzyme-based tank treatments are safer for seals and sensors than bleach-based products.
- For interior surfaces, look for non-abrasive, RV-safe multi-surface cleaners. Harsh chemicals can damage cabinetry finishes, upholstery, and countertops.
- For disinfecting, use EPA-registered products proven to kill germs on contact on hard surfaces.
Our Guide to Green Camping also includes some eco-friendly RV maintenance products.
How Often Should You Clean an RV?
You should clean your RV after every trip — even short weekend outings. A basic post-trip clean prevents odors, mold, and grime buildup that compounds over time. A deeper detail (waxing the exterior, cleaning the roof, and professional interior cleaning) is worthwhile at least once a season.
To clean an RV after a trip, work through the interior and exterior in a logical order: dump and flush holding tanks first, then clean the RV interior from top to bottom, and finish with the exterior, including the roof. Use only manufacturer-recommended, RV-safe cleaning products throughout. The checklist below walks you through every step.
How To Clean RV Holding Tanks
It’s easier to empty holding tanks or a portable waste tank before leaving the campsite. Start with the black tank first, then the gray water.
After emptying the black tank, use an RV black tank cleaning wand or know how to use an RV black tank flush, if your camper is equipped. You can also use a sewer hose rinser kit for additional cleaning.
Keeping your tanks clean will keep your tank sensors working well and also help minimize odors. Consider using a tank sensor cleaner to remove unseen residue build-up on the inside of your black tank.
While your sewer accessories are out, check their storage area(s) and clean if needed. A portable waste hose container keeps this tool separate from other items in your RV’s basement storage, a sanitary consideration.
For RVs with a cassette toilet, check the housing area around the portable waste tank for water accumulation. Any water from rinse-off and flushing overrun can pool at the bottom and should be cleaned as soon as possible.
To avoid bacterial growth in your fresh water tank, we recommend fully sanitizing it every 6 months. However, you can do so more frequently if you’re a full-timer or during periods of heavier use. It’s easier to clean the fresh water tank at home, so you can let the cleaning solution work overnight.
Learn how to sanitize a camper’s fresh water tank.
How To Clean Your RV Interior
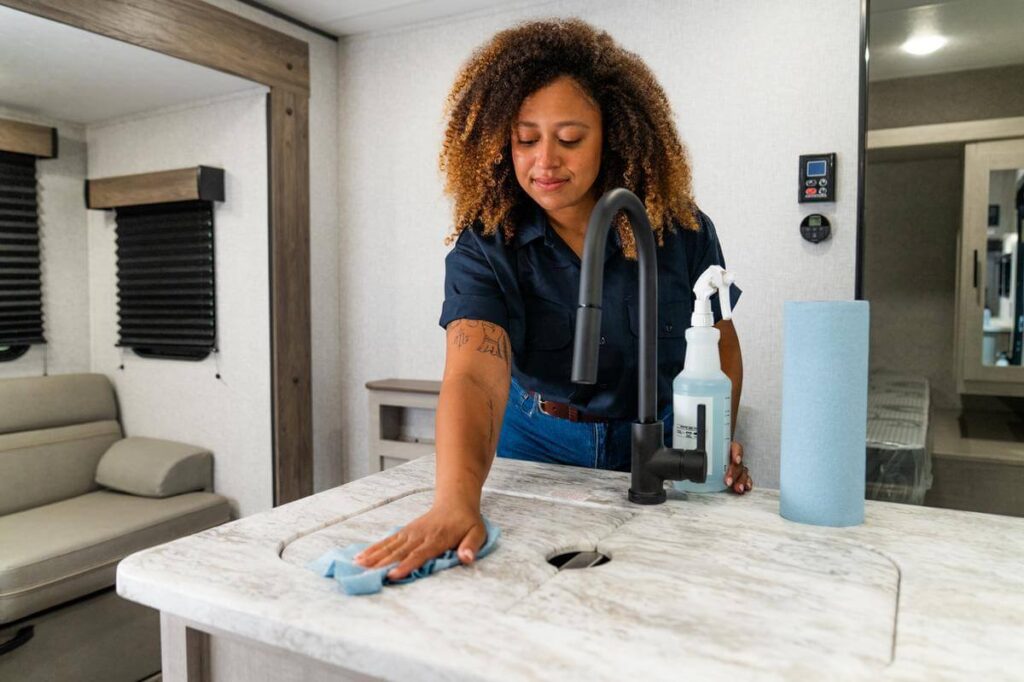
The best way to clean an RV interior starts with cleaning and progresses to disinfecting. They go hand-in-hand but aren’t the same thing. Cleaning removes germs, dirt, grease, and grime. Disinfecting kills germs.
The CDC sets guidelines for properly disinfecting surfaces using EPA-registered, germ-killing products. For hard surfaces, clean first, then disinfect with a CDC-approved disinfecting product. For soft, porous surfaces, vacuum visible debris, then launder on the hottest water setting allowed by the fabric care instructions.
Work from the top down, so anything that falls gets swept up at the end. Start by dusting ceiling vents, fans, and overhead surfaces; wipe down walls and windows; and finish with floors and carpets. Empty and clean the refrigerator, stovetop, and microwave, and launder all linens. Use only RV-safe, non-abrasive cleaners to protect interior finishes.
Technician Tip: As you clean, look for damage to fabrics, hinges, cabinetry, and other interior components. Note anything that needs attention before your next trip or before storage season.
Here’s an easy-to-follow RV interior cleaning checklist:
Ventilation
- Open windows, vents, closets, and cupboard doors
- Dust or vacuum ceiling vents, exhaust fans, and HVAC vents
- Clean your RV’s air conditioning filter
- Use a deodorizer, dehumidifier, baking soda, or eco-friendly charcoal packets to absorb odors and keep the interior dry
General Interior
- Check ceilings and crevices for cobwebs and bugs
- Dust entertainment electronics
- Spot-clean splash zones: upholstery, window coverings, walls, and ceilings
- Leave window shades open to reduce moisture accumulation and mold growth
- Vacuum crumb-catching areas: couches, seat cushions, floors, and carpets
- Rinse trash cans and wipe down trash collection areas
Kitchen
- Unpack food items and clean the refrigerator, stovetop, oven, and microwave—inside and out. If so equipped, don’t forget the dishwasher and garbage disposal
- Wipe down kitchen backsplash, pantry, countertops, and tables
- Thoroughly wash any kitchenware you plan to keep inside
- Clean condensation on water pipes under the counters
- Check and clear the sink drain to remove soap and other residue
Bathroom & Bedroom
- Clean toilets—inside, around the outside, and behind
- Check and clear the shower drain to remove soap and other residue
- Launder linens. Clean mattresses and under beds—including pull-out beds—to prevent bed bugs and dust mites
Cab/Cockpit (if applicable)
- Wipe down cupholders, steering wheel, vents, and dashboard
- Apply vinyl/leather protectant where applicable
How To Clean Your RV Exterior and Roof
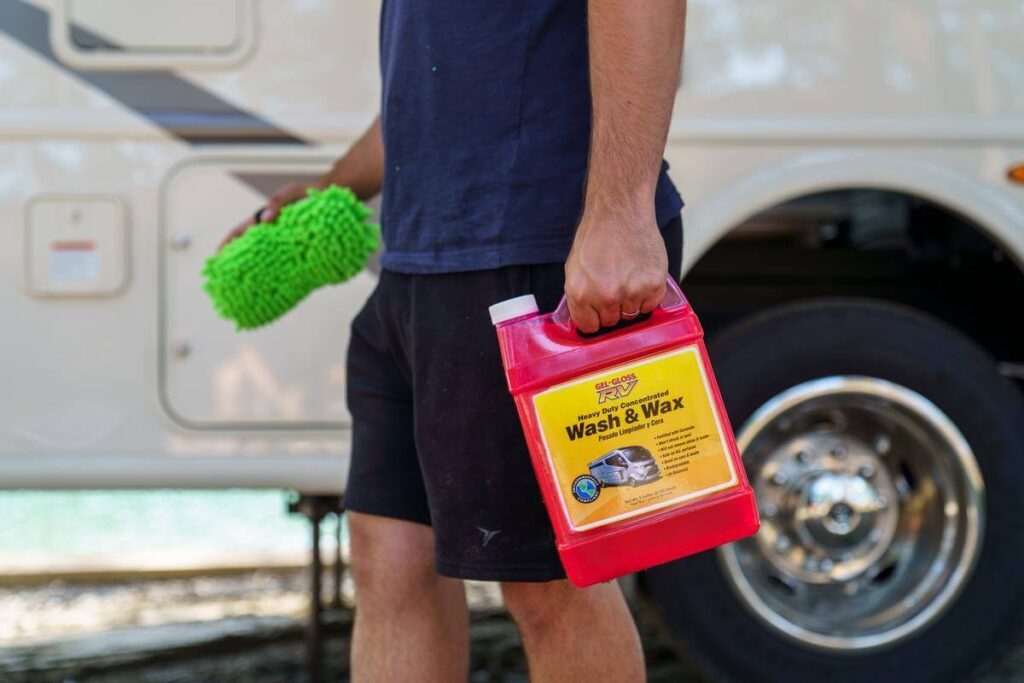
Washing an RV after every trip prevents black streaks, fading, and other unsightly issues. Here’s a quick RV exterior cleaning guide:
Use RV-safe cleaning products and wash your RV’s entire exterior from top to bottom, working in sections. Start with the roof, then the rear cap, the camp-side wall, the front cap, and then the off-camp wall. Don’t forget the windows on each wall, the tires and rims, and propane bottles (if they aren’t enclosed), which may all require specialized cleaning products, per your RV manufacturer’s recommendations.
Here are a few additional tips for washing the outside of your RV:
- Allow RV awnings and slide toppers to dry completely before clothing and latching them securely to prevent moisture penetration and retention.
- Consider waxing your RV exterior every 3-6 months to prevent UV damage and oxidation. Consult the manufacturer for recommended waxing products.
- Use a squeegee to dry RV windows and prevent streaking.
- Dry each section with a gentle, microfiber towel as you go for a more spot-free finish.
Regular post-trip washing and waxing prevent bug buildup, grime, and mold from baking on while your camper is in storage.
Technician Tip: As you’re washing your RV, note dents, missing sealant, and other exterior damage to create a checklist for offseason maintenance. Don’t forget to empty storage compartments and clean camping accessories, such as chairs, patio mats, and grills, to prevent mold and rust.
Can You Pressure Wash an RV?
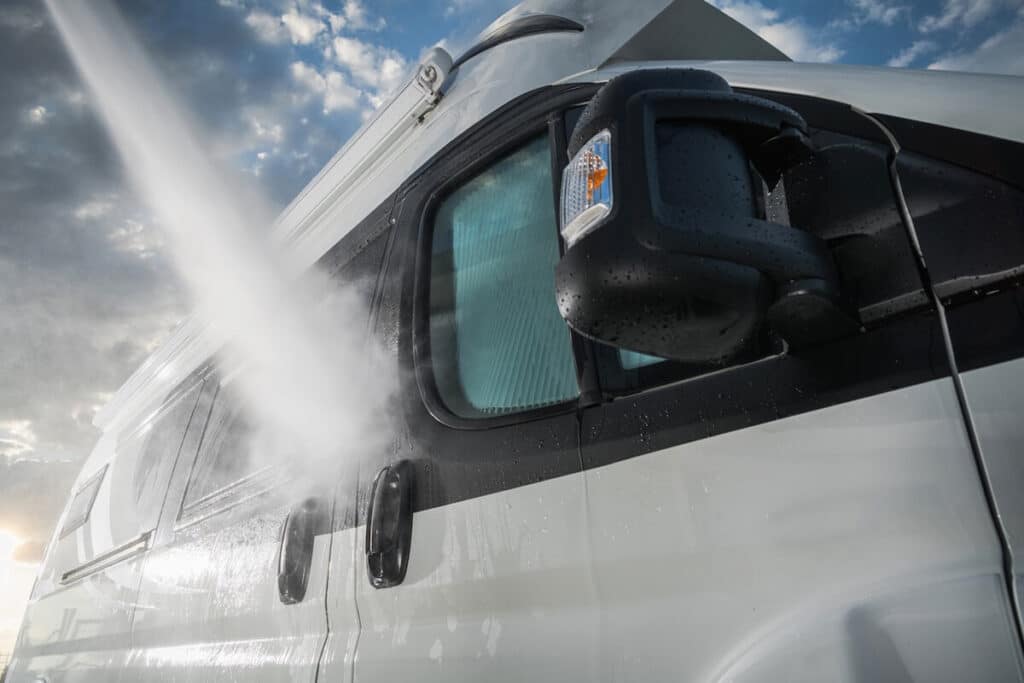
Pressure washing is a common question for RV owners, and the short answer is: with caution. A standard residential pressure washer on a low setting can be used on an RV’s exterior, but high pressure can damage decals, seals, paint, gelcoat, roof membranes, and other exterior components. You may also find portable pressure washers for RV cleaning, but the same cautions apply.
Always keep the spray wand moving — never hold it in one spot — and avoid directing water at windows, vents, or any seams and sealants. For the roof, a gentle garden hose rinse or a soft brush is usually safer than a pressure washer.
When in doubt, consult your RV’s owner’s manual or ask a service technician at your nearest Camping World Service Center.
Can You Take an RV Through a Car Wash?
Most standard car washes are too small to accommodate RVs. Some areas have commercial truck washes, though these typically offer only water and a hose—you’ll need to bring your own cleaning products. For a thorough exterior wash, hand washing at a designated rinse area (with proper drainage) is usually the best option.
Save Time With Professional RV Cleaning
Detailing the interior and exterior of your RV is worth the effort — but it takes time. Trained service professionals can wash, wax, remove oxidation, and completely clean your RV interior, including carpets. If you’d rather leave it to the pros, schedule an RV detailing and cleaning service at your nearest Camping World.
Use these additional resources to properly care for your RV investment:
What are your RV cleaning tips? Tell us in the comments below.